
AD | This is a sponsored post. All opinions are honest and my own.
There are many benefits of keeping houseplants in your home. I’m a huge fan of plants and my home is full of them! However, they do have a tendency to grow, multiply and take over. One way to stop houseplants from overrunning your home is to take cuttings to sell or give away. This is a win-win situation because you get to share your beautiful houseplants with others, whilst still keeping the original plant for yourself. You could even start a business selling plant cuttings, and make money that literally grows on ‘trees’!
In the past, I have sold houseplant cuttings on eBay and I have also occasionally sent cuttings to my friends. This obviously involves packaging up delicate, living plant cuttings and sending them in the post. How can this be done without damaging or killing the cuttings? I am going to show you how I package houseplant cuttings to successfully send them in the post. This method is suitable for outdoor plant cuttings as well as houseplants.
To demonstrate my method, I am going to be packaging up some cuttings to send to the lovely Sophia who runs an amazing blog, Sophia Patel. She writes about home life, finance, blogging tips, positivity and more. I recommend checking out her blog!
I hope this guide will be helpful for you, whether you are considering starting a business selling plant cuttings online, or casually sending some cuttings to friends.

You will need
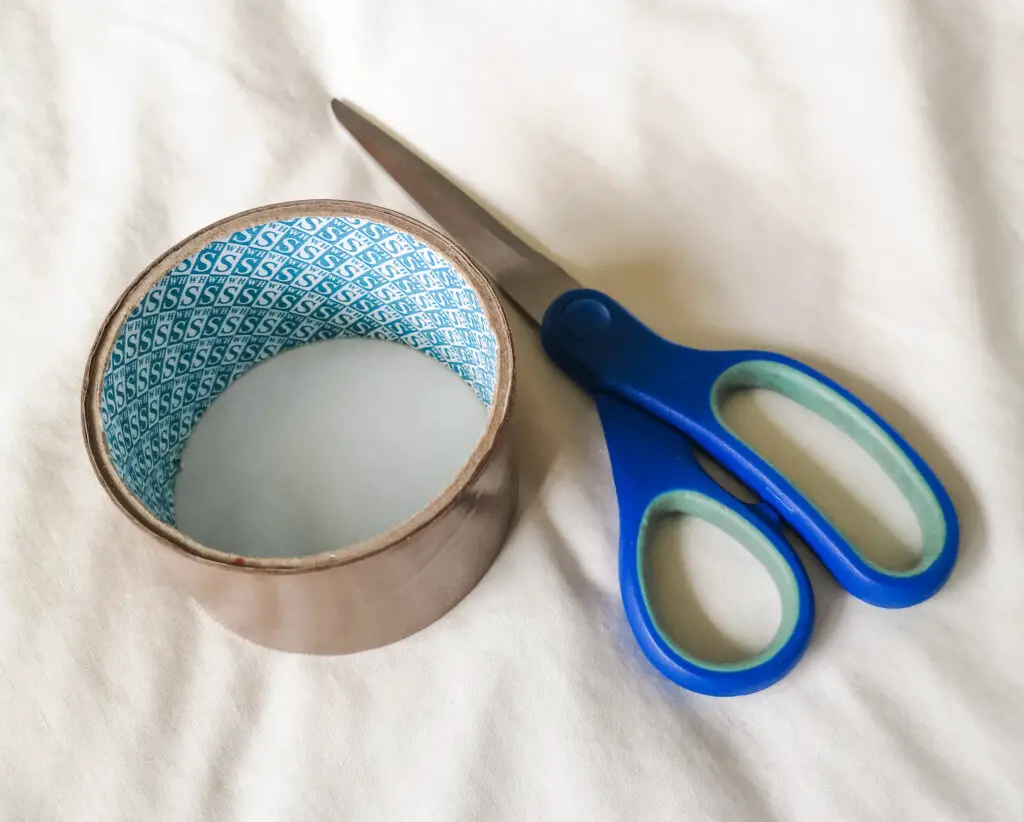
- Secateurs
- Kitchen roll
- A small pot of water
- Sellotape
- Thin plastic, clingfilm or equivalent.
- Scissors
- Cardboard box
- Bubble wrap (optional)
- Brown paper
- Tissue paper
- Notecard (optional)
- Packing tape
- Paper and pen

Where to get sustainable packaging materials
It’s a good idea to think about using sustainable packaging, especially if you plan to send cuttings in the post regularly.
One option is to save and reuse packaging from deliveries that you receive. In today’s example, I reused a clear plastic bag that I received another product in, and cut it into pieces for wrapping the cuttings. I also reused brown paper and tissue paper that came with another online delivery.
If you are sending cuttings regularly, you are likely to run out of materials to reuse, so you will need to buy new packaging materials. Lil Packaging is a great choice. They offer custom postal packaging for businesses of all sizes. The best thing is that they are a sustainable, eco-friendly company and their products are 100% plastic-free!
How I package houseplant cuttings to send in the post
1. Prepare the cuttings
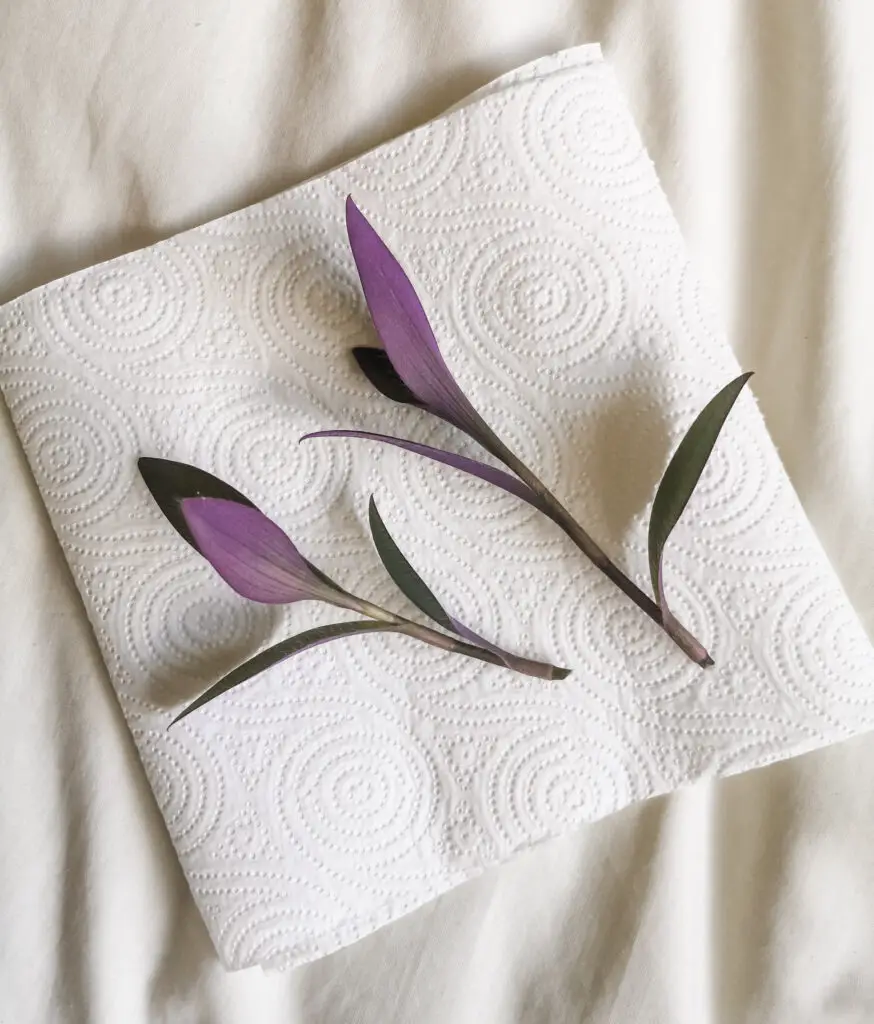
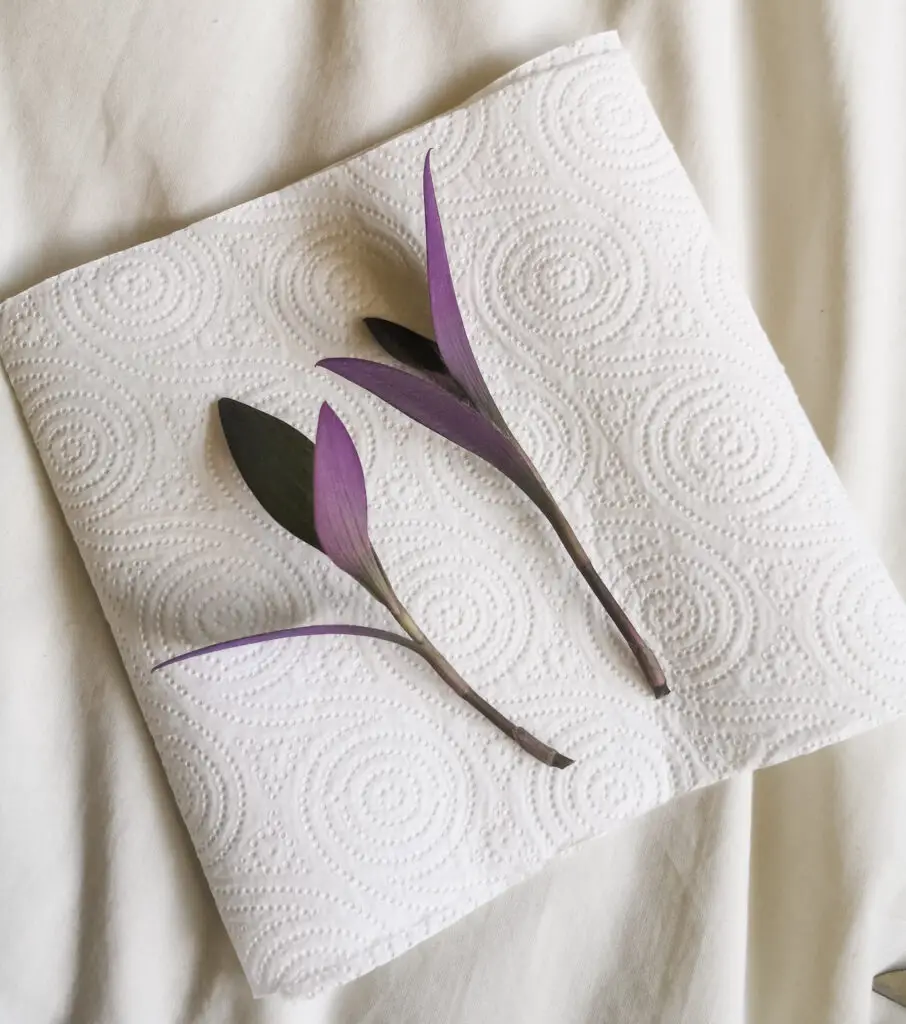
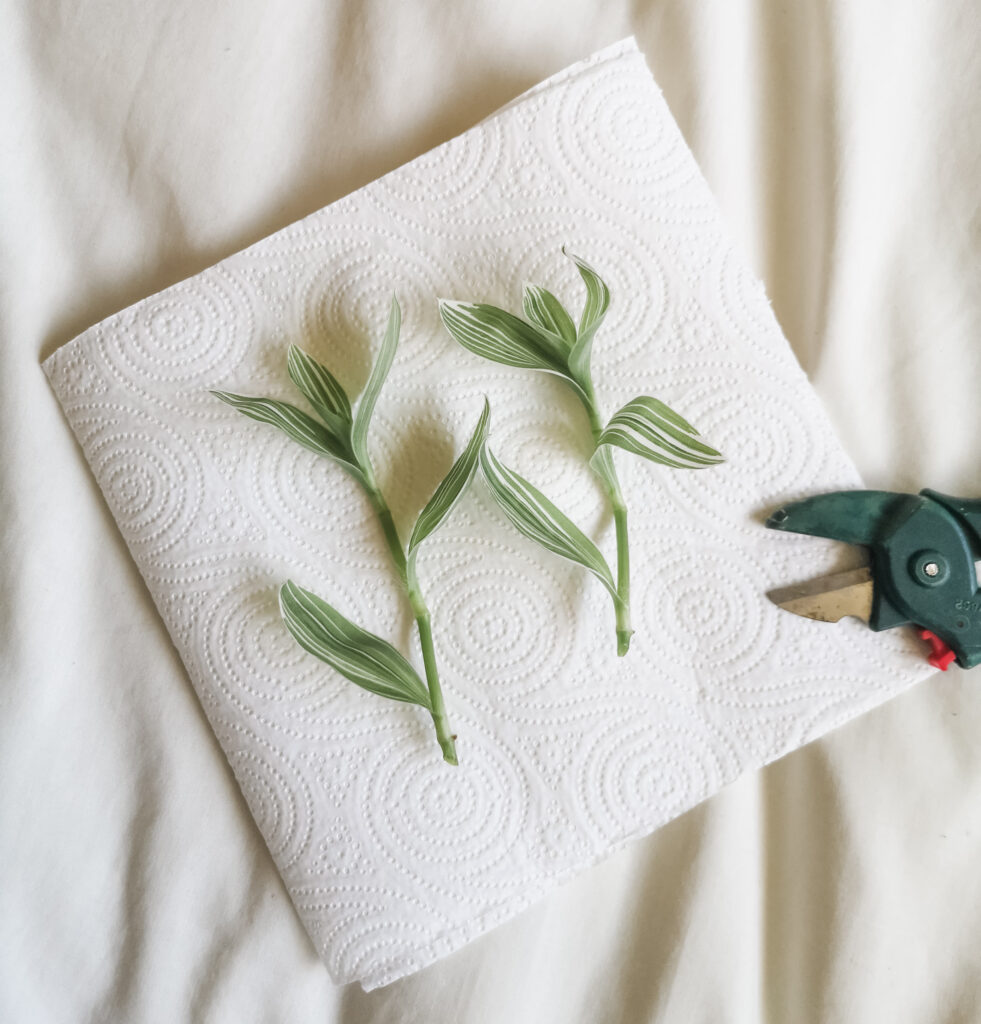
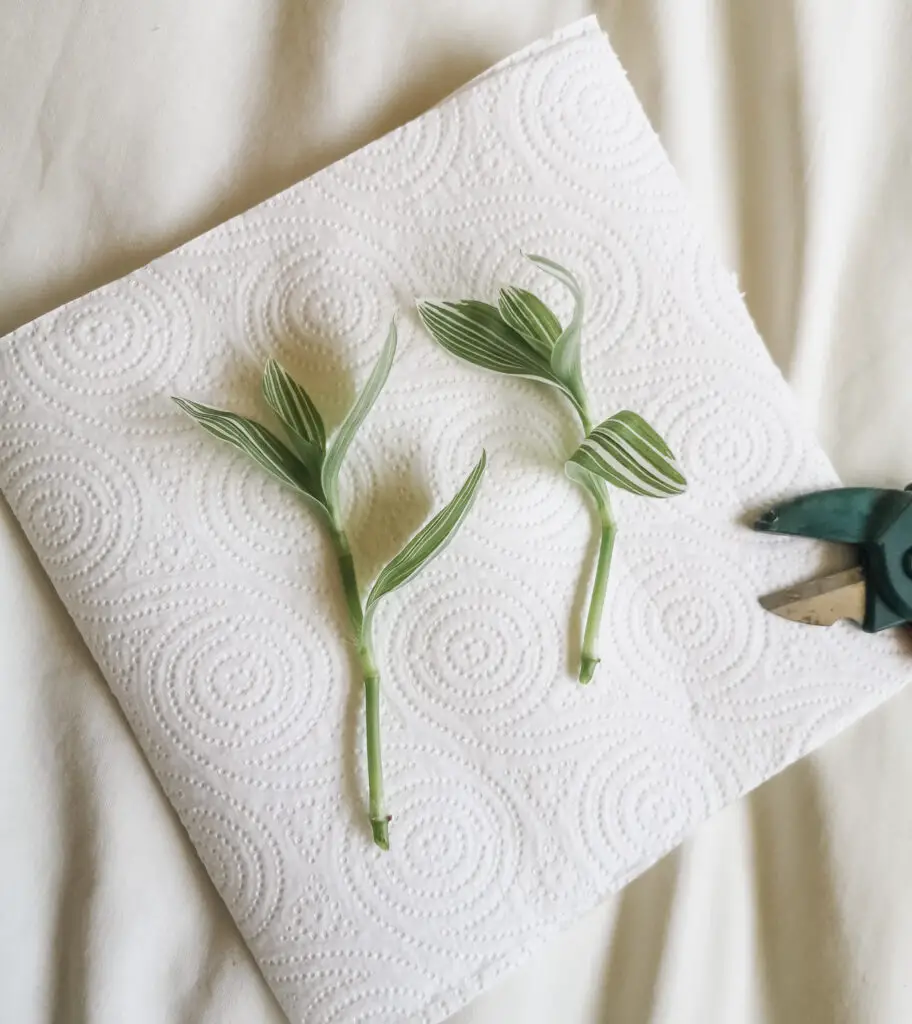
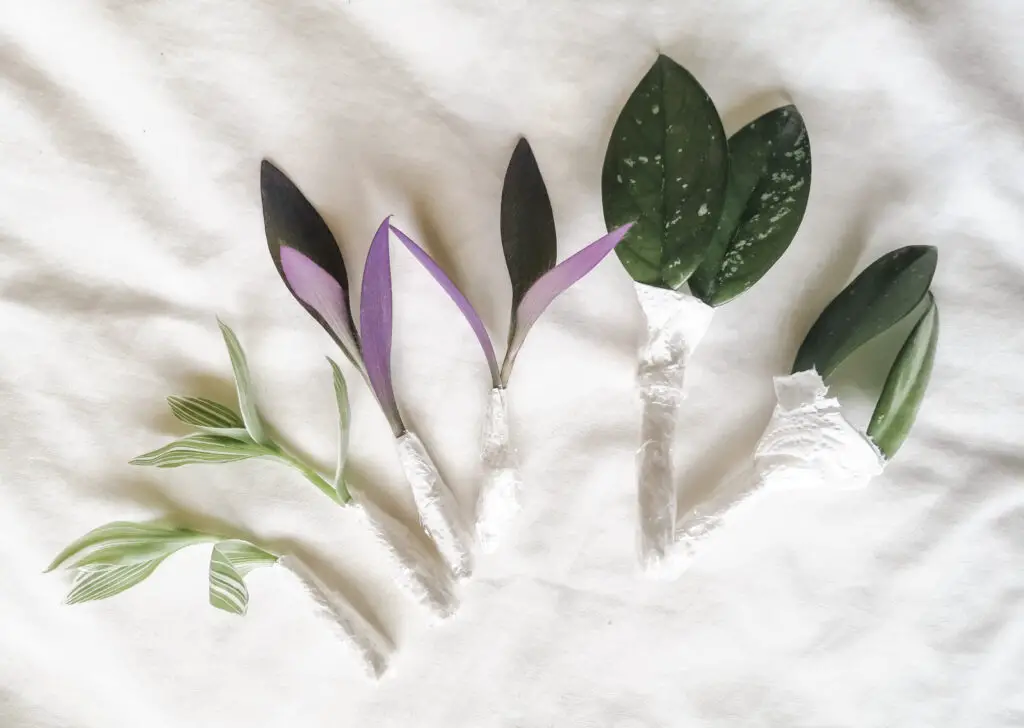
The first step is obviously to take cuttings from your plants. Today I sent cuttings from Tradescantia Pallida, Tradescantia Quicksilver and Hoya Carnosa. I used secateurs to snip off sections of the plants, just below a leaf node. On the Tradescantia cuttings, I pulled off the lower leaves. This is so that the stem is bare when it is planted. Otherwise, the lowest leaf would be under the soil and it could go mouldy.
Here are the Tradescantia Pallida cuttings, before and after I removed the lower leaves:
Here are the Tradescantia Quicksilver cuttings:
And here are the Hoya Carnosa cuttings. You can see they already have little ‘nodes’ on the stem – that’s where the roots will grow from.

All these types of plant are very easy to grow from cuttings. When they arrive at their destination, they can just be planted straight into a pot of soil and they should be fine. Alternatively, they can be put in a vase of water first to grow roots, before planting in soil.
Some types of plants are harder to grow from cuttings. For these, you might want to consider getting them to grow roots first, before posting them. I recommend looking up how to take cuttings from the specific plant you are wanting to send.
2. Wrap the cuttings
You’ll want to give the cuttings a bit of water for the journey, so they don’t dry out. Do this by lightly dipping a strip of kitchen roll into a pot of water to make a portion of it damp. However, be careful not to make it too wet. If the plant cuttings are saturated with water, they will get soggy and potentially rot.
Alternatively, you could use a spray bottle to spray the kitchen roll with water.

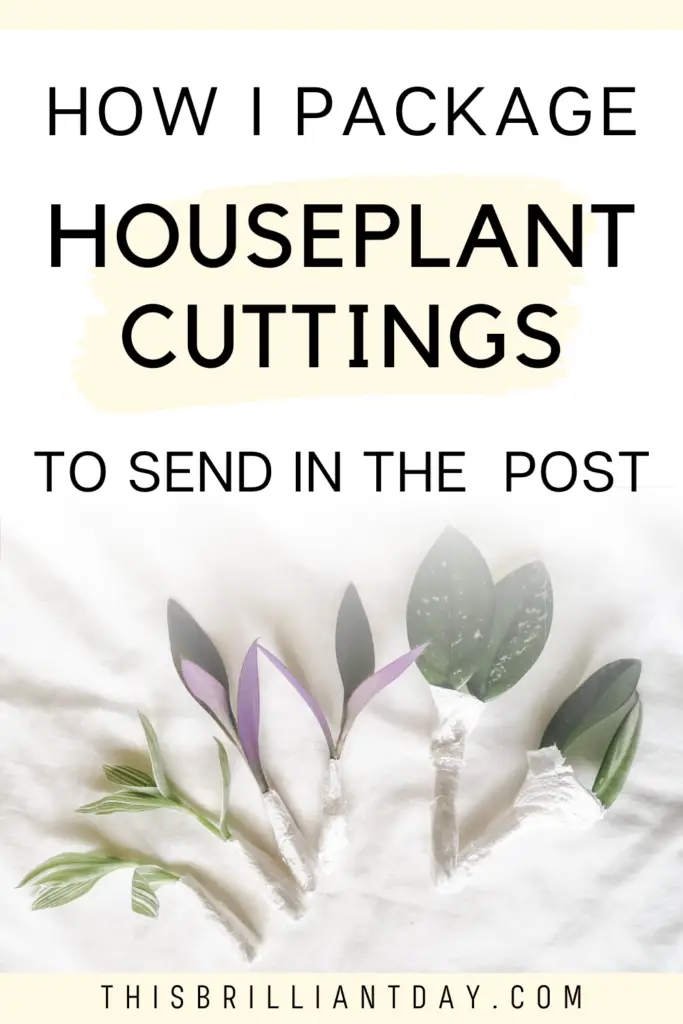
Wrap the kitchen roll around each of the cuttings, making sure the damp portion is at the cut end of the stem. You can secure the kitchen roll with sellotape if you like.
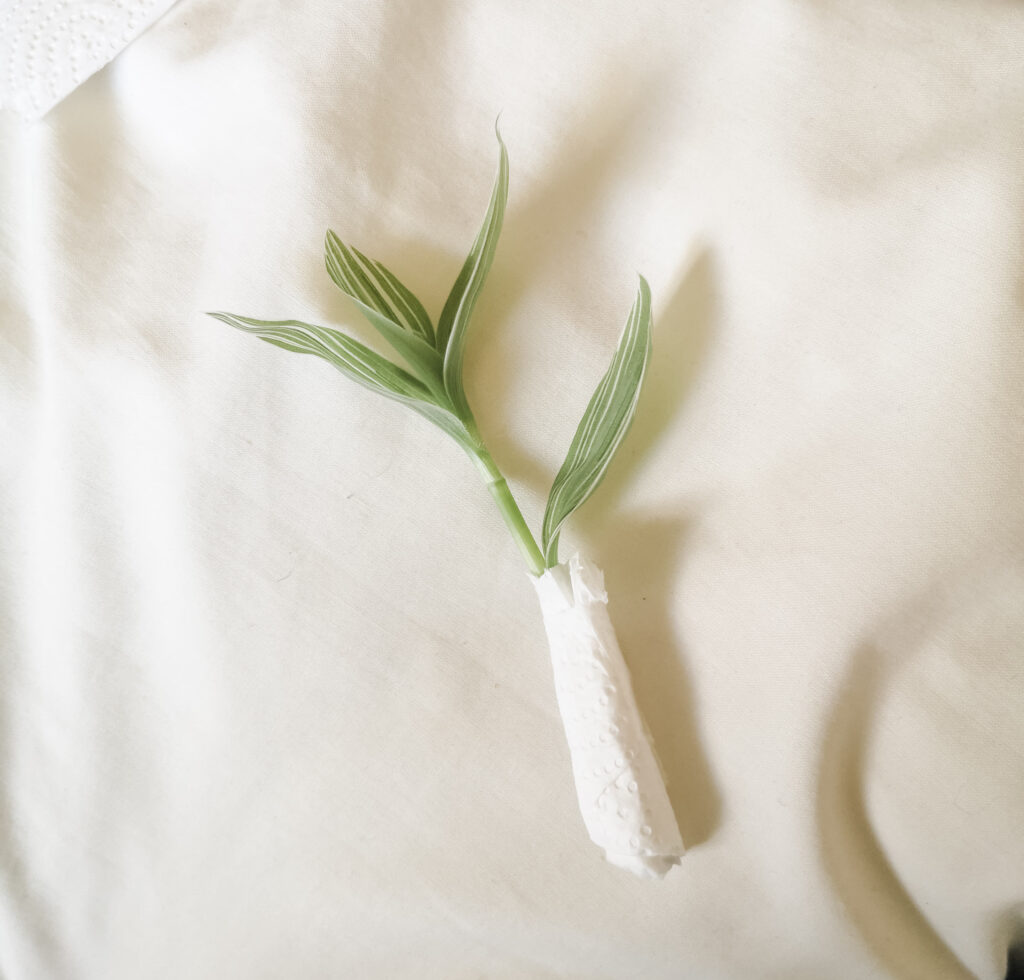
Cut a strip of plastic or clingfilm. You could use a plastic bag of any type – it doesn’t have to be clear. Here, I reused some plastic packaging I got with an online delivery. Wrap the plastic around the kitchen roll and secure it with sellotape. This will keep the moisture in.
If you want your packaging to be plastic-free, you could use a compostable plastic alternative, or use foil.

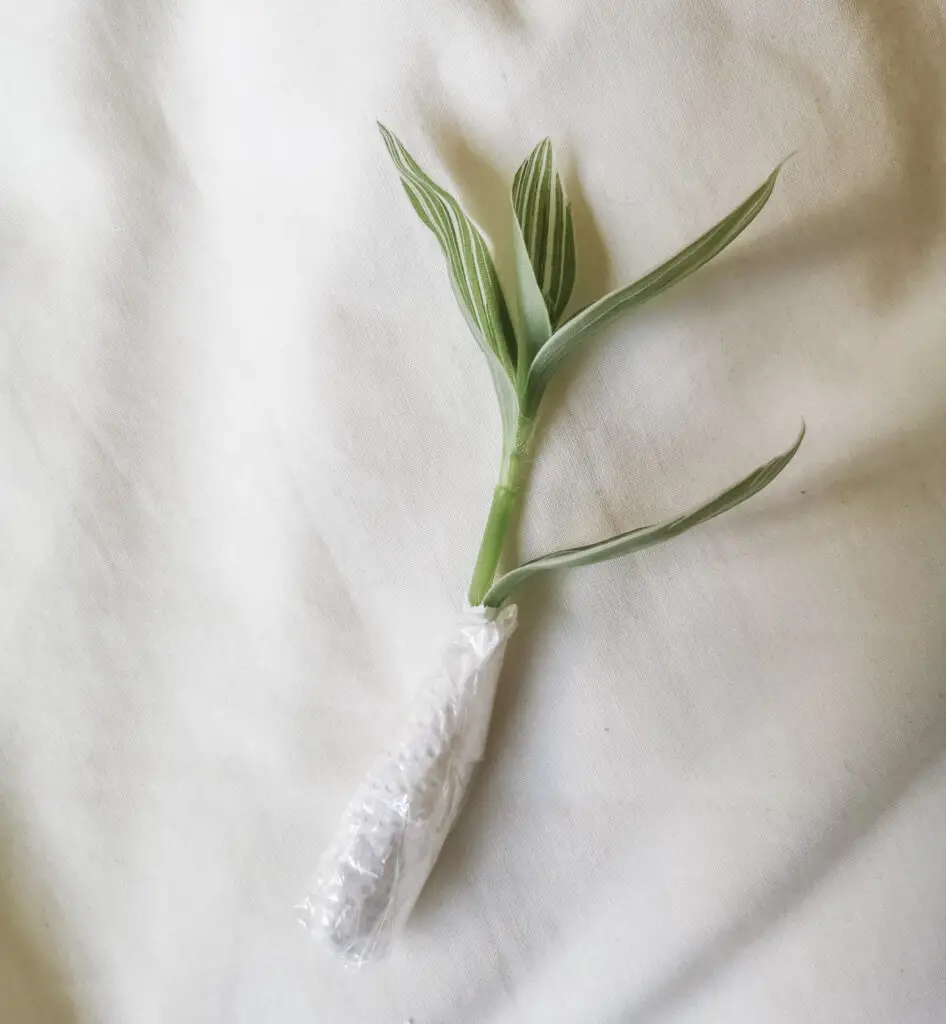
On the Hoya cuttings, I wrapped kitchen roll around the base of the leaves to give them extra protection.

The cuttings are wrapped and ready to be packaged up!
3. Pack the cuttings
You will need to select a cardboard box that is the right size for your cuttings. It’s easy to underestimate the box size you need because the cuttings look so small. But you need to leave space for padding so that the cuttings don’t get squashed. Make sure that the box is long enough to accommodate the longest of your cuttings without having to bend them.
You can line the bottom of the box with bubble wrap or tissue paper, but this is optional.
Take a sheet of brown paper – the thicker the better. You will be creating a roll to protect the cuttings. Here, I reused brown paper that I got with another delivery. It was quite thin so I folded it in half to make it extra robust. This meant the cuttings were less likely to get squashed.
Lay your cutting on the brown paper, and cut a piece that is longer than the cutting. You will also need to measure the brown paper against the cardboard box. Cut it just a little shorter than the length or width of the box (even if it is much longer than the cutting) This way, the rolls of brown paper will fit snugly and not move around.

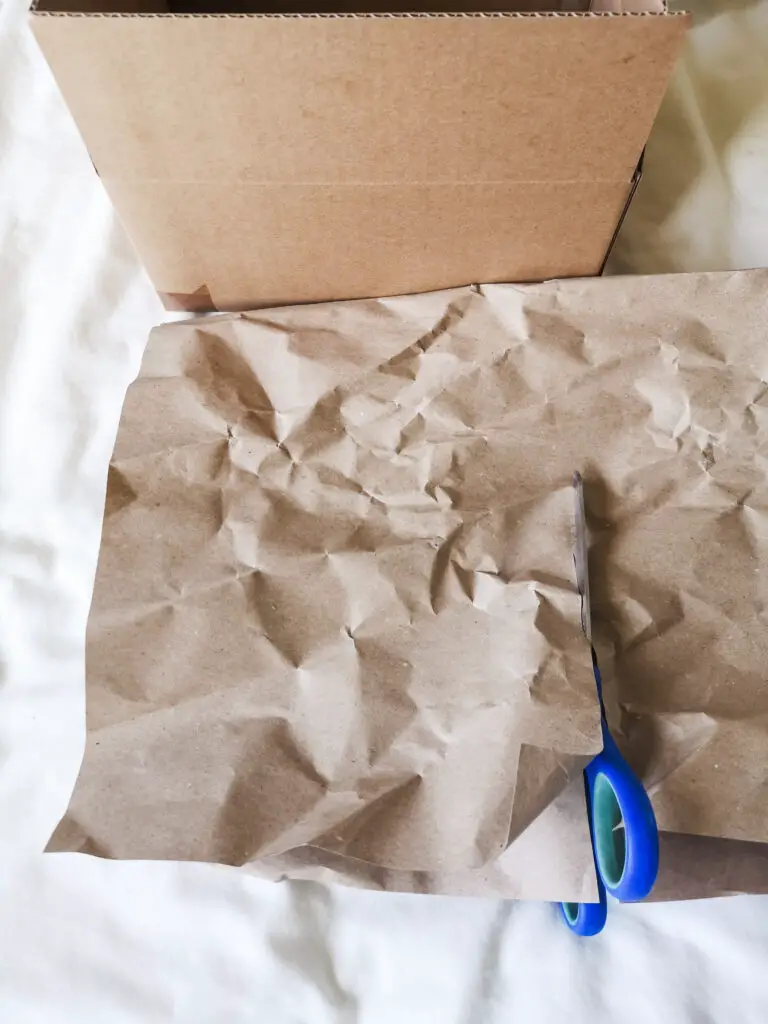
Roll the cutting up in brown paper, making sure it is quite loose so the cutting is not squashed, but tight enough that the cutting won’t fall out. Secure the roll with sellotape (or paper tape if you are avoiding plastic).
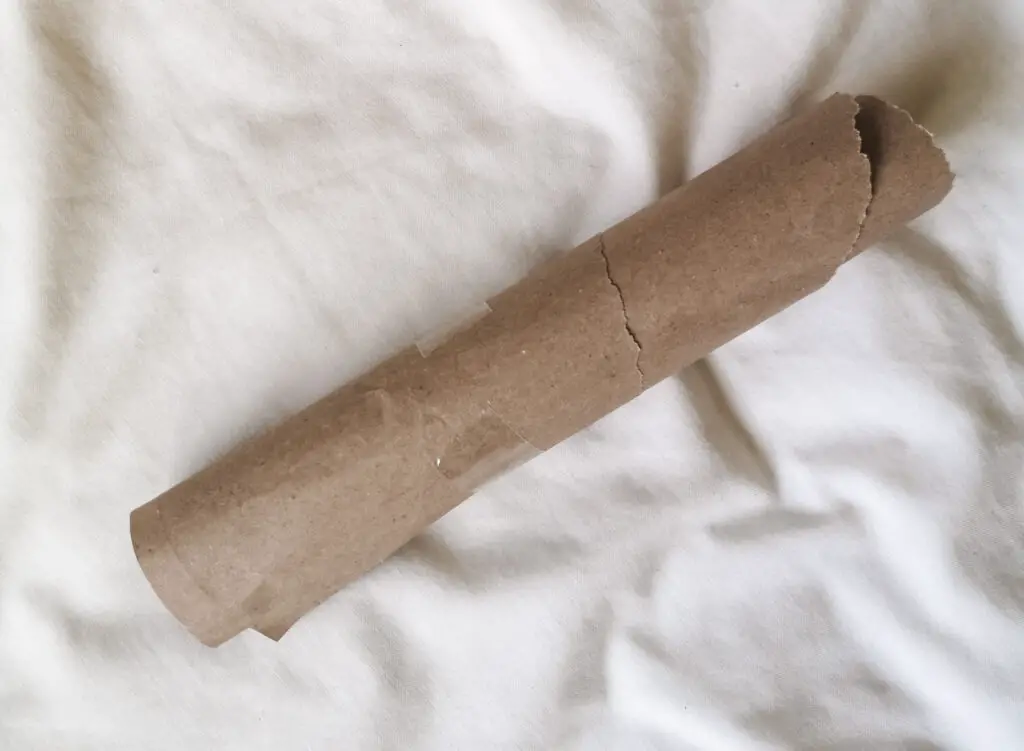
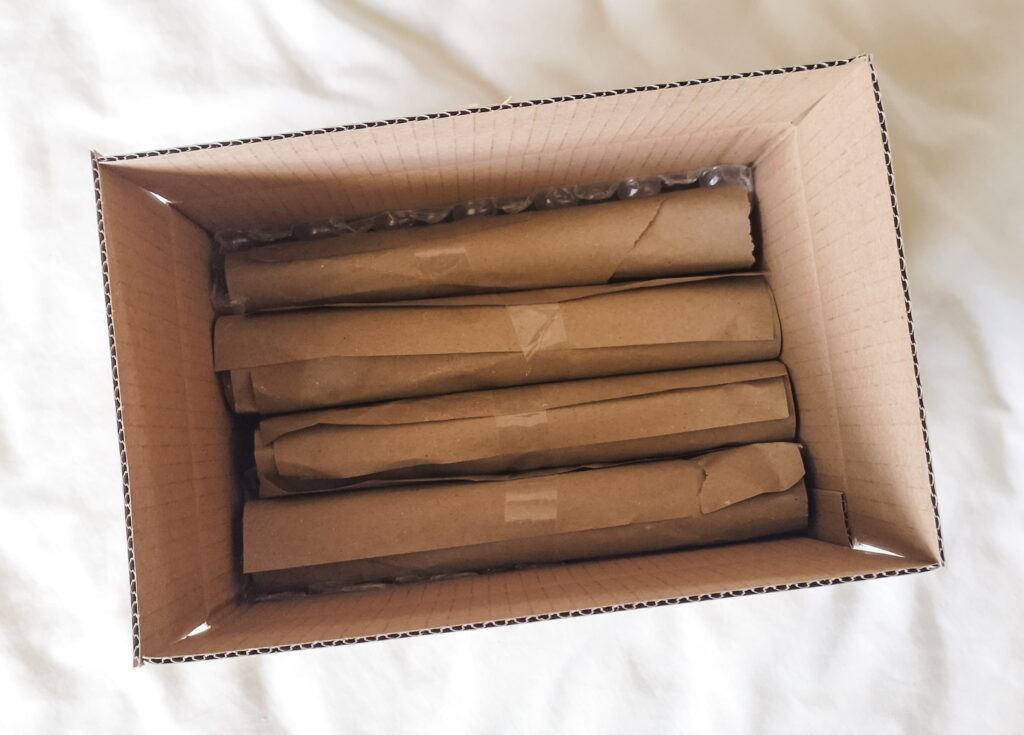
Lay the roll in the cardboard box.
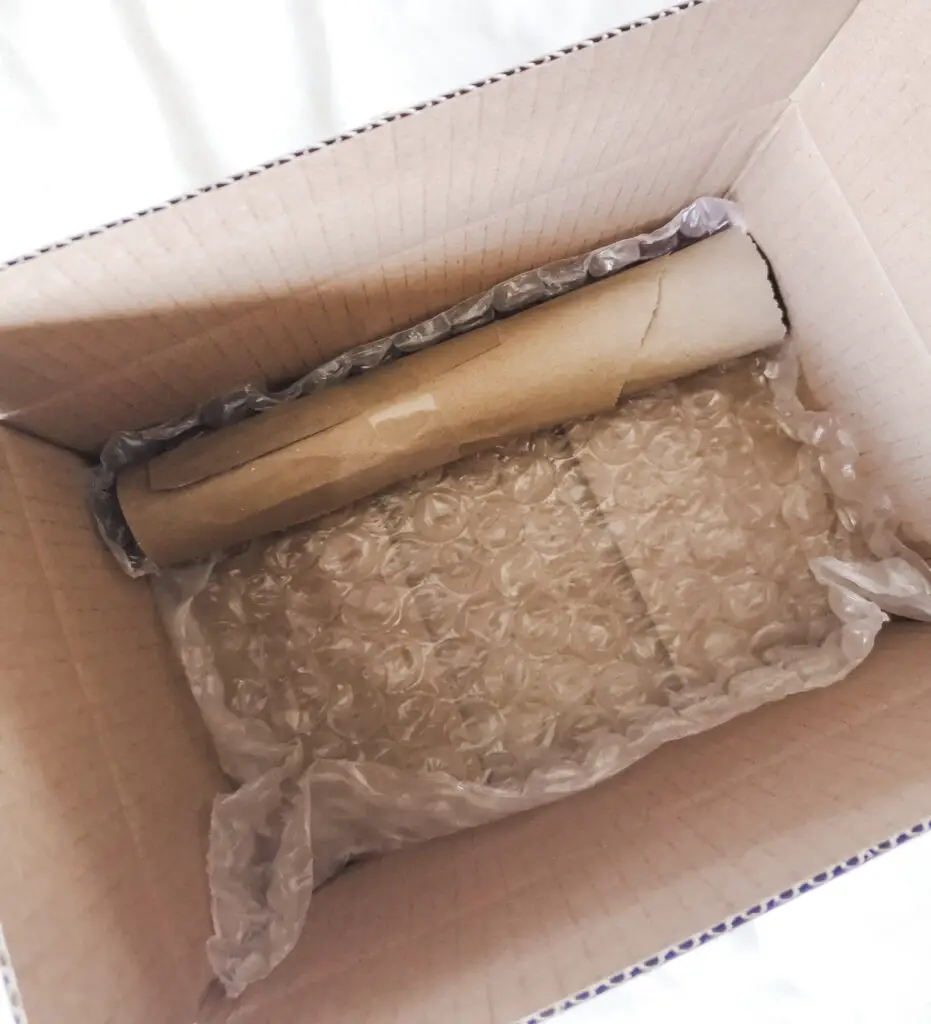
Repeat for the rest of the cuttings. I wrapped the 4 Tradescantia cuttings this way, and they fitted neatly in the bottom of the box. If you have more cuttings, you can layer the rolls on top of each other.
Some cuttings, such as the Hoya cuttings, are irregular in shape or have stiffer leaves so rolling them in brown paper doesn’t work so well. For these, I used a different method. I wrapped them in tissue paper, making sure each leaf was supported and not squashed. This decreases the likelihood of the leaves snapping off.
You can adapt your packaging between these two methods, depending on what types of cuttings you have.
Here is one of the Hoya cuttings wrapped in tissue paper:

Lay the wrapped cuttings in the box.
If there is empty space in the box, fill it in with more tissue paper so that the cuttings don’t move around too much. You can close the box and give it a gentle shake to see if there is any movement and add more tissue paper if needed. But don’t add so much that the cuttings would get squashed if the box is compressed in transit.

4. Prepare for delivery
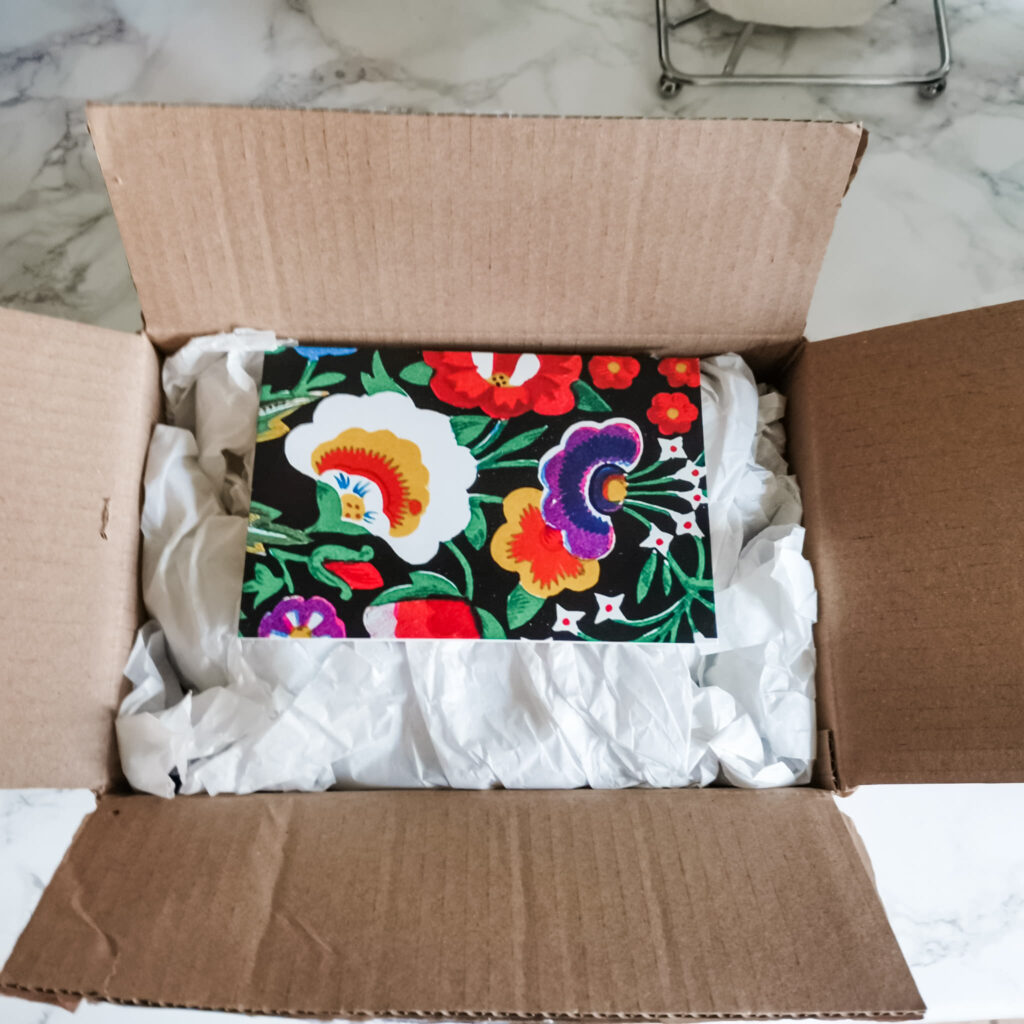
If you are running a small business selling houseplant cuttings, you might want to think about presentation and branding when you are packaging your cuttings. You might choose to use coloured tissue paper or a special custom box. As a finishing touch, you could add a business card or a note with information about the plants and instructions for how to care for them.
When I am sending cuttings to friends, I usually put in a notecard with a greeting, and sometimes a bit of information about the plants if I haven’t already told them. Today I added a notecard for Sophia into the box.

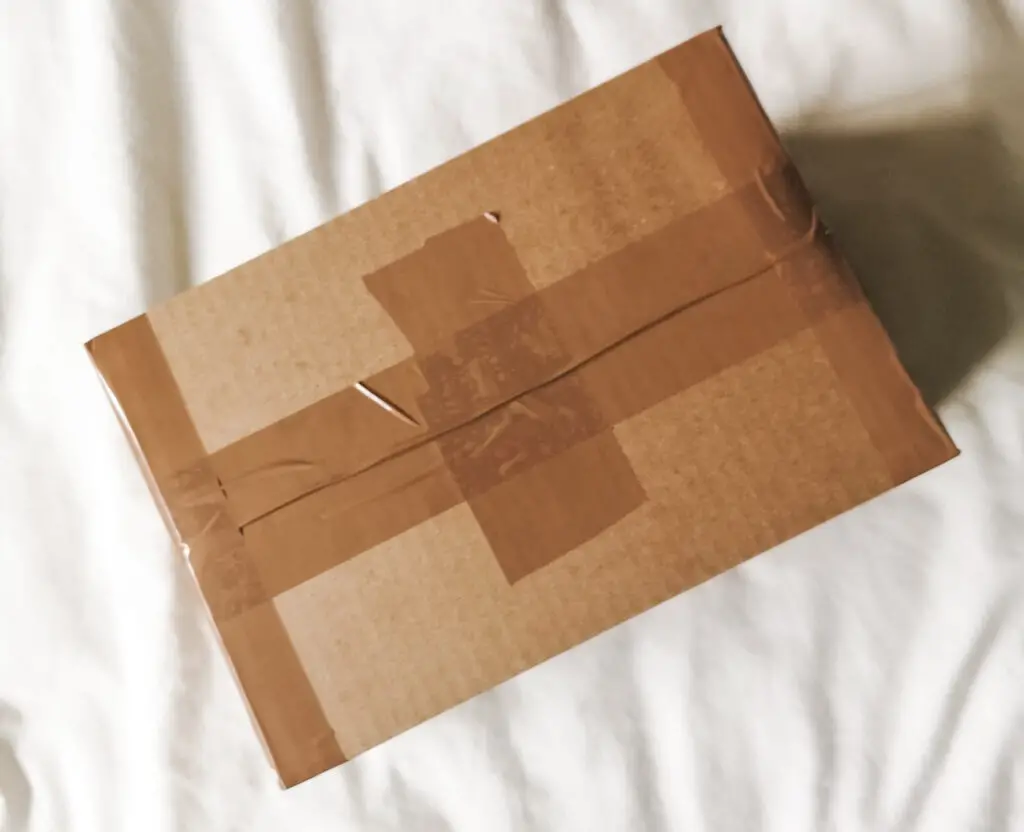
Next, use packing tape to seal up the box. Then, add an address label, and your package is ready to post!
I used a sticker to hide the address in this photo.

5. Post the cuttings
If possible, post the cuttings straight away after packaging them up, and send them first class. This means they will spend the least possible amount of time in transit. Aim to prepare and post your cuttings on Monday-Thursday so that you won’t risk them hanging around in a warehouse over the weekend.
Did these cuttings arrive safely?
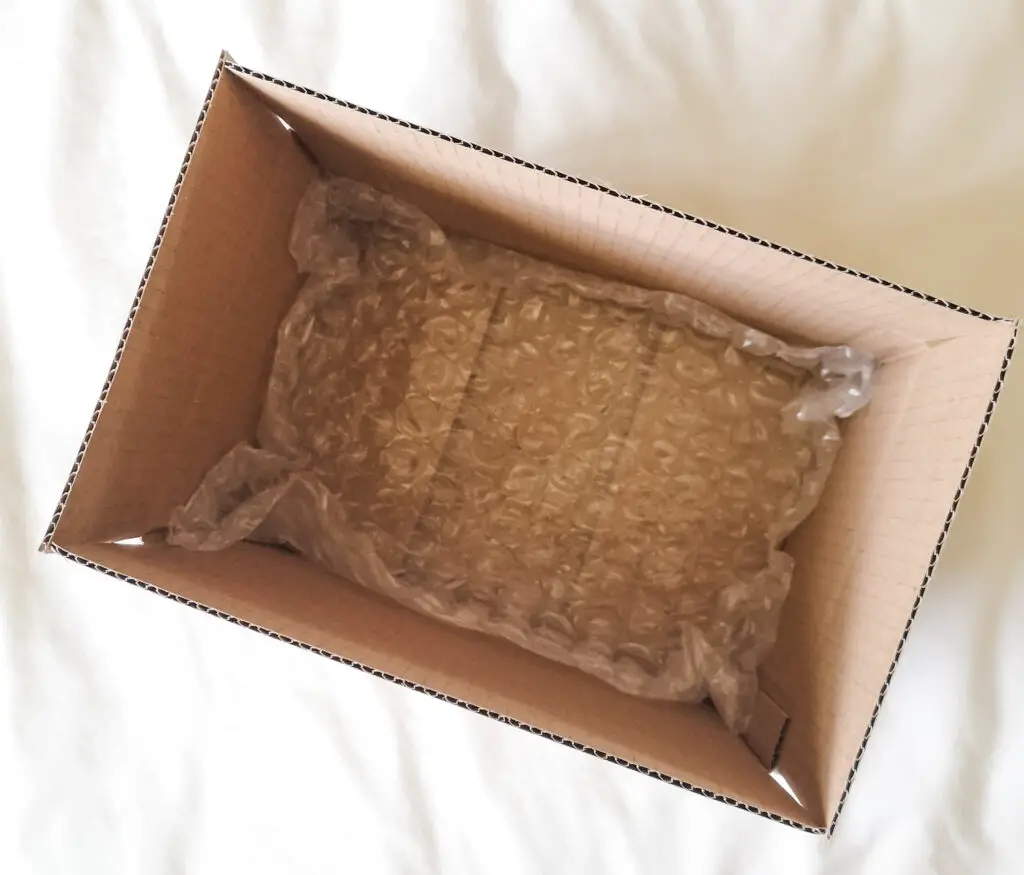
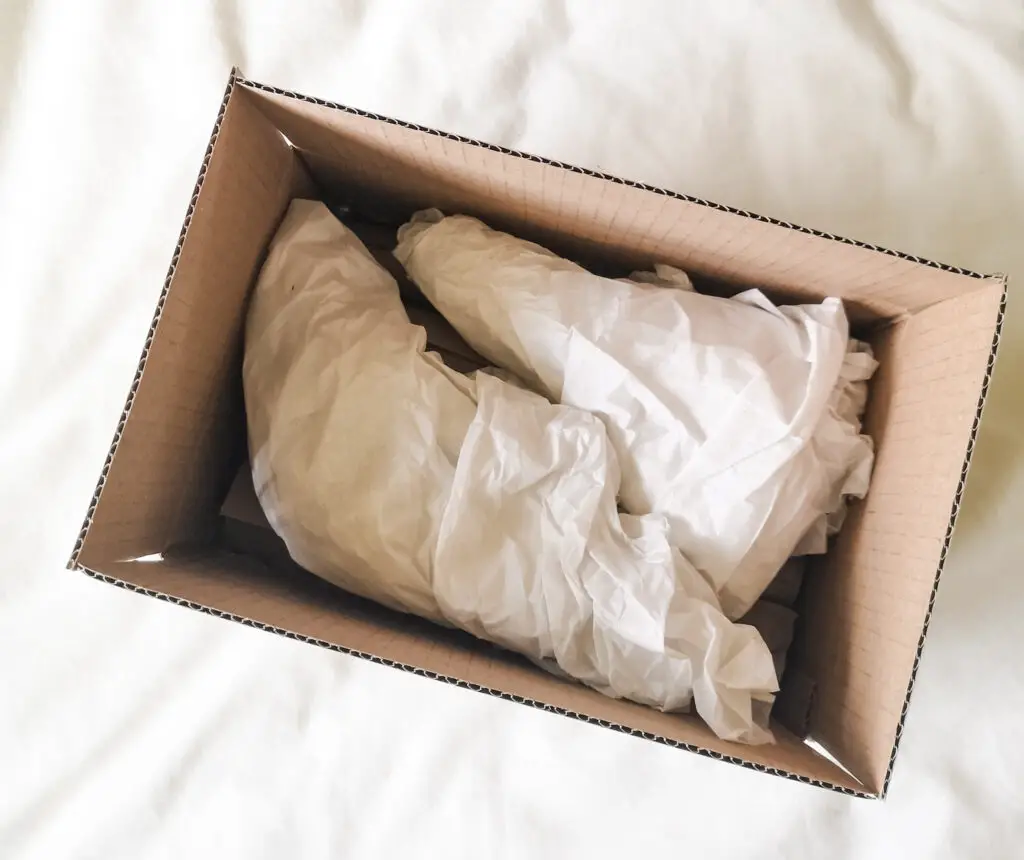
As mentioned, I sent these cuttings to Sophia from Sophia Patel blog. She kindly sent me an update to let me know that they arrived safely at their destination the very next day! Here are some photos of the box after it arrived and the cuttings in their new home:


As you can see, the box arrived in good condition, and the cuttings were not damaged. They perked up nicely in their jars of water and they look as good as new!
When sending houseplant cuttings in the post, you can never guarantee that they will arrive safely and alive. Sometimes parcels get treated roughly or exposed to harsh temperatures. But it was so good to know that Sophia’s cuttings survived the journey, and it confirms that this method is pretty effective for making sure cuttings will arrive safe and well.
Sophia will be writing a post on her blog about how the cuttings get on, so do subscribe to her blog so that you will get updated when that post lands!
Have you ever sent houseplant cuttings in the post?
Have you ever sent, or received houseplant cuttings in the post? How were they packaged, and did they survive the journey? Let me know in the comments below!

Thank you for such helpful information. I love this!
I’m so glad you found this helpful, thank you for reading!
I’ve never sent a plant cutting in the mail before, so I never stopped to think about how you would package it properly. This is great information! I actually have some plants that I would love to ship to family, so I’m going to have to take your suggestions and run with it!
I’m so glad that this post has been useful and informative! That’s a great idea to ship some plants to your family, I hope that goes well! x
this is such a lovely idea – my mum would absolutely love this. She always tries to steal my lilies every year so now I might send her some clippings and surprise her
Rosie
Oh that’s a great idea, I bet she would be thrilled! x
Great information! I would have never known how to do this if not for reading your post! My sister and I enjoy growing indoor and outdoor plants but we live for away. This would be perfect for us to try!
I’m so glad to have taught you how to do this! That sounds like so much fun for you and your sister to exchange plant cuttings by post. I hope you try it! x
As someone who collects houseplants, I love how much care you’ve put into your packaging! It really does make the world of difference doesn’t it?
I tend to wrap the cuttings in moss, and then that in clingfilm, as they don’t have to be taken out of the moss to root – just pierce a hole in the bottom of the clingfilm and pop a tiny amount of water in whatever container you place it in. I also use soft toy stuffing to pack the cuttings up, as I find its slightly more forgiving than paper.
Thanks for an informative post!
Em
I’m so glad you enjoyed this post! Thank you for sharing your method for packaging cuttings – it’s so interesting to read what materials you used. That’s such a good idea to wrap them in moss, I might try that because the roots will be so much better protected that way! Thanks for reading x